
React is a popular JavaScript library used to build User Interfaces (UIs).
It only takes a brief search for dev jobs to see how many employers are clamoring for React-versed developers.
There’s good reason – React makes designing fast, fluid, and scalable applications way easier than, say, vanilla JS.
React makes use of components in a declarative approach where you define a desired target state and React figures out how to update the DOM.
This means no manual querySelectors or DOM element pointers on our end!
I’m in the process of learning React myself and thought to document my mishaps, failures, and…Hold up.
This is rather sad.
I meant to say my progress, achievements, and successes 😏
In this first React project, we’re going to build a simple application that allows a user to add a name and age to a list. If there is an error in either entry, a modal will pop up to notify the user.
Expect some basic familiarity with React and node.js (for server-side JavaScript), but this post is an easy guide for anyone who needs a revamp on how to get started.
Defining the plan for this React app
While building this simple React application, we’ll touch on:
- creating components with JSX
- managing state across components
- adding styles to React components
- defining logic in components
- passing data across components
Since this is my first official React project, I’ll be breaking it into parts. I figure this to be the best way to grasp the important basics before moving on to the complex stuff 💁♀️
Let’s embark on a React journey together by tackling this first part: starting a React project.
How to start a new React app
Use create-react-app to set up a project that comes equipped with pre-configurations and simplifications for both development and, later on, production.
The cool thing about create-react-app is that it comes with webpack, Babel, ESLint, and other build tools already up and running!
We need node.js to run create-react-app (not necessarily for React itself) so let’s check that.
Head to the terminal and make sure you have node.js installed by typing on the command line node -v .
A version will populate if node.js is installed on your machine, otherwise, install node.js before continuing.
Once node.js is confirmed, make sure you are in your project directory and run npx create-react-app <project name> . This command creates a folder called what you provided as <project name>
Tip ✨
You can also run
npminstead ofnpx!
Note: When to use npm vs npx
Wondering what’s the difference between npm and npx?
npm:
- stands for node package manager
- use it to install packages globally and locally
npx:
- comes bundled with npm
- allows you to run packages without installing dependencies
- allows you to run packages locally without installing them globally (see how we installed
vscelocally to build and publish our custom VS Code theme usingnpx) - good for when needing to execute a package once like when initializing a project (such as React)
Bottom line: npx executes without installing whereas npm executes and installs.
Now, move into the newly created project folder and start the app using npm start .
Need help navigating the terminal? Read How To Open And Run Commands In The Terminal (Beginner Friendly)
Upon installation, the basic startup commands are provided on the terminal.
Overall, installation using create-react-app is easy and straightforward!

Check out the React app files
A successful compilation will open up your browser to a spin-off server on your localhost after running npm start .

The next step is to open up the project folder in your editor to start working on the files.
You might want to take a minute or two to explore the files to familiarize yourself with the basic structure of the project.
Wondering what dandy VS Code theme we’re using? It’s our custom theme, Pink Panda, free and available to download on your editor right now 😊
Take a look at:
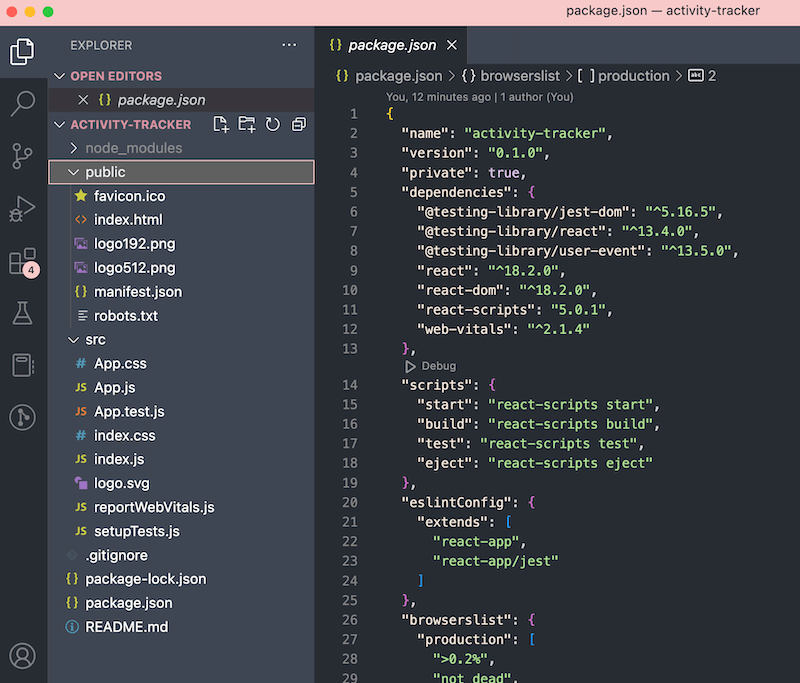
- package.json in the root of the project directory: See the dependencies that come pre-installed thanks to
create-react-appand view project settings.
- index.html in the public folder: This is the only HTML file in the entire project folder that holds the root element.
- index.js and App.js in the src folder: App is the first component (the parent of all parents; a “true God” if we borrow from Wuxia terminology). Meanwhile, index makes sure App and all its children render in the root element.
We’ve now successfully started a React project using create-react-app 😎 The complete source code is found on GitHub for your reference.
The next post will serve as part two where we’ll build our first custom React components.
‘Till then, React-out! (Okay, I’ll stop I promise)


